The Complete Guide to Spindle Runout: How to Test, Measure & Reduce
What Is Spindle Runout?
Types of Spindle Runout
The Effects of Spindle Runout
How To Measure Spindle Runout
Correct Your Spindle Runout Today
What Is Spindle Runout?
In machining, runout refers to inaccuracies in a tool or piece of equipment that cause it to spin off its ideal axis. Spindle runout occurs when a spindle no longer rotates on its intended axis, which can result in:
- Issues with tolerance control
- Inaccurate machine registration
- Excessive chip load
- Damage to part finishes
- Tool chatter
Spindle runout can shorten the life of a tool, so it’s recommended that you test your spindles regularly and obtain necessary repairs as soon as possible.
Types of Spindle Runout
Spindles may experience axial or radial runout, which both refer to the spindle rotating off of its intended axis.
General Case of Motor Error
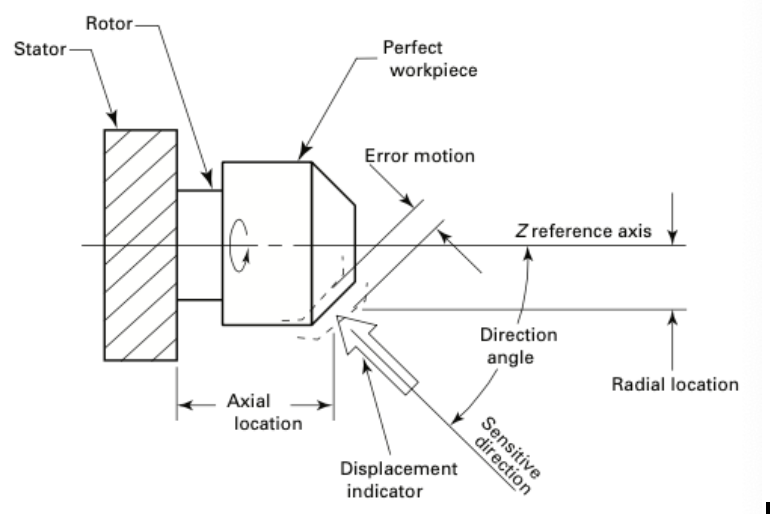
Source: ASME B89.3.4-2010
Axial
Axial runout is the result of an error in the motion of a spindle parallel to its axis.
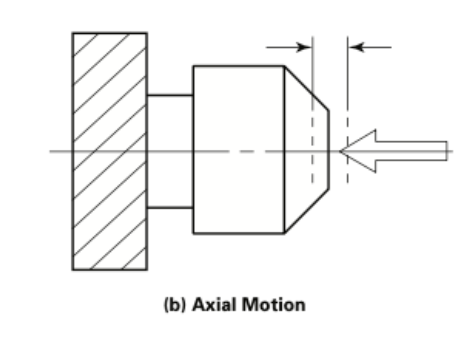
Source: ASME B89.3.4-2010
Radial
Radial runout is the result of an error in the motion perpendicular to the spindle’s axis.
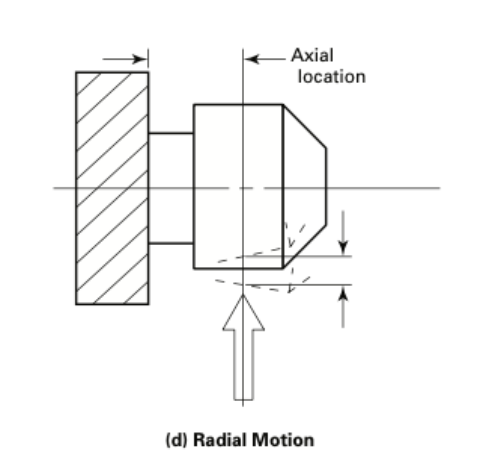
Source: ASME B89.3.4-2010
The Effects of Spindle Runout
Spindle runout can shorten tool life and increase the likelihood and incidence of producing defective parts. Even if your spindle is still in relatively good condition, untreated runout can shorten the spindle’s life and cause further damage to tools and parts. For example, it can increase chip load and create uneven chip loads.
Runout = Uneven Chiploads
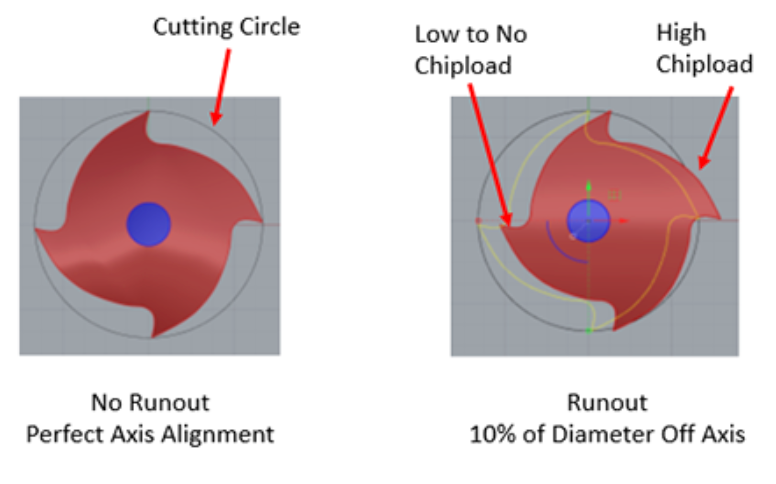
Source: CNCCookbook
How To Measure Spindle Runout
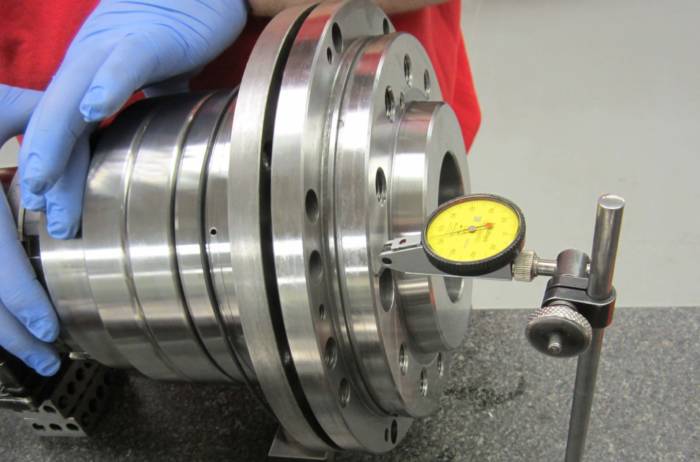
Spindles can be measured for runout while stationary (static) or operating (dynamic). In general, static tests are easier and less expensive to perform, but dynamic tests will give slightly more accurate readings while accounting for heat, vibration and centrifugal force. Both stationary and dynamic tests can be performed using multiple methods, which are detailed in the American Society of Mechanical Engineers’ Axes of Rotation standards (ASME B89.3.4-2010).
Using either a dial indicator or a non-contact sensor, technicians can measure both circular and total runout.
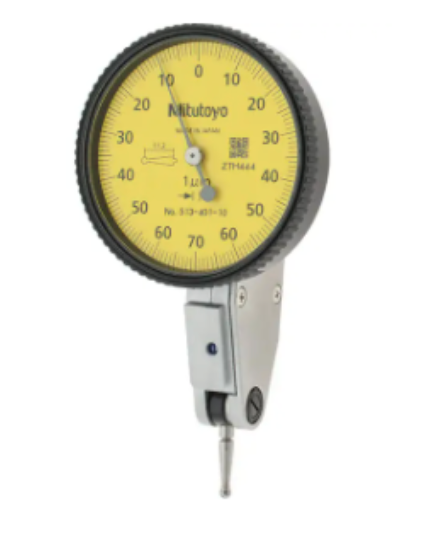
Non-Contact Sensor
An automatic measuring system that assesses runout using an eddy current sensor.
Correct Your Spindle Runout Today
Is a piece of your equipment producing an uneven chip load? Are you experiencing tool chatter? You might have a case of spindle runout on your hands.
The dedicated spindle repair technicians at Northland Tool can assess your spindle’s condition and rebuild it to the manufacturer’s tolerances. Send us a message or request a quote today, and let’s get your spindle back up and running.
- Machine Tool Spindle Bearing Lubrication: What To Know
- Delaying Spindle Service Causes More Damage, Costly Repairs
- What Does It Mean to Be a Factory Authorized Big Plus Spindle Rebuilder?
- Precision Machining in a World of Microns
- GPG: Grind-Plate-Grind Process Explained
- What Is the Spindle Repair Process?
